
tmux, available under most Linux distributions’ package managers and also available in OS X, is a fantastic tool not only for system administration but also for development. tmux enables long-running sessions on a machine, and plugins such as tmux continuum mean that even when the machine is restarted, the previously-running session’s scrollback buffers will be displayed so that no context as to what was happening is lost. It is much more intuitive than the classic GNU Screen, and has more features. It also boasts great support for pair programming (Ham Vocke has an excellent article on this). Following is the configuration I use as well as some justifications as to why; these exact settings were cobbled together from a host of other articles across the web.
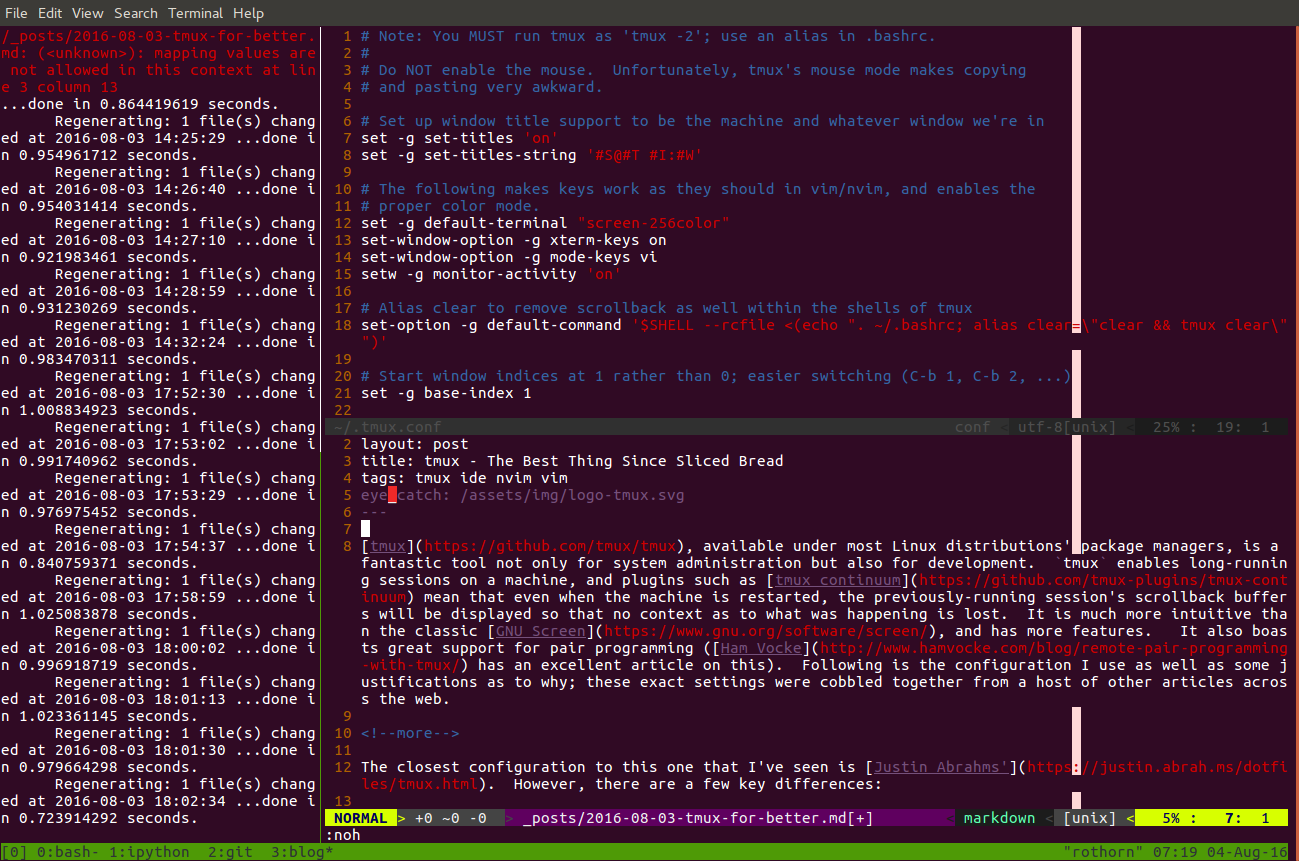 Screenshot of
 tmux session used to write this post. The currently displayed window has two panes: the left one is running the server, and the right one is running Neovim for text editing.
The closest configuration to the one I prefer is Justin Abrahms’. However, there are a few key differences:
-
Leave
C-b, control-b, as the<prefix>used before anytmuxcommand.A lot of people rebind this to
screen’s default ofC-a. However,C-bis just as easy to use with only one hand. It also doesn’t cover up usingC-awithin terminal applications to scroll to the beginning of the line; e.g.bashuses this, and it’s annoying to have it covered up. -
Mouse mode is not enabled.
Yes, a mouse is an excellent input device. However, when working with walls of text (development), I often find that moving my hands to reach the mouse is cumbersome. Tools such as vim-easymotion, mentioned in my Neovim post, are much faster.
Additionally, enabling mouse mode in
tmuxmesses with the operating system’s copy and select; it is much better (albeit stranger at first) to usetmux’s built-in copy mode, augmented with anxclipcommand to share a clipboard with the OS. -
The clipboard is shared with the OS.
Using
xclip, anything copied intmux’s copy mode (bound to[) is also copied to the system’s clipboard. Convenient for usage alongside e.g. browsers. -
repeat-time, a setting which normally would enable holding down e.g. an arrow key to move several windows, has been unset.This setting was removed because it greatly slows down the user when switching panes; with it,
tmuxhas to wait a half second to get new commands for itself before relinquishing keyboard input to running terminal applications. However, this also means that if the user wants to move one pane to the right and then press the up arrow to load the last command into bash, they have to wait a half second between these two actions. I switch panes often enough that this is undesirable. -
Without mouse mode and
repeat-time, resizing panes can be a… well, pain. This configuration bindsS-<arrow keys>(S = shift) to resize panes faster. -
Added alias
clearto the shell within tmux: clears the scrollback buffer as well as any text in the window.
Using tmux
There are plenty of guides to using tmux around the internet, and tmux itself supports the ? shortcut to pull up a list of all commands and key bindings within the application. Nonetheless, I want to explain a few concepts for new users here.
Firstly, always launch tmux as tmux -2. For whatever reason, this cannot be specified in the configuration file. Best to set up an alias so as to never forget (e.g. alias tmux='tmux -2').
Secondly, as a solo developer in particular, be in the habit of typing tmux attach to attach or create a new session. If no session exists, this command will fail; at that point, a standard tmux will spin up a new session. For development, a single session is sufficient. Being in the habit of starting with tmux attach means you’ll never forget about a session you left running. As for doing multiple things within a session, tmux has windows for that.
Key Bindings
Once in tmux, the key bindings can be a little strange for the uninitiated. Basically, every key combination (unless otherwise specified) starts with <prefix>, which is bound as C-b (control+b) in the configuration file in this post (and by default). E.g., if some instructions say to use the c shortcut, that really means C-b c. To see what key options are available in your tmux, use ? (really C-b ?).
C- means Control plus the next key, and S- means Shift plus the next key.
Panes
Panes are one of the main reasons to use a terminal multiplexer like tmux; basically, panes allow you to split up screen real estate and have multiple terminal applications running alongside one another. tmux’s default shortcuts are a little awkward, but they work plenty well: " (aka S-') does a vertical split; % (S-5) does a horizontal split. To resize panes, use <arrow key>, or S-<arrow key> to resize faster.
Windows
Windows are essentially views of different sets of panes; they are similar to browser tabs. To make a new window, use c. By default, tmux will constantly rename the window based on whichever application is running in the active pane for that window. Oftentimes, giving the window a custom name is desired. Use , to assign a custom name.
Sessions
I’m not going to get into sessions here as I only use a single session and that’s sufficient; however, as previously mentioned, refer to Ham Vocke’s article on pair programming for an example usage of sessions.
SSH
While not strictly part of tmux, one headache that people experience with tmux in a long-running session is that SSH will begin prompting for passwords repeatedly. This happens because the SSH agent connection was broken. It is often wise when using tmux to put the following in your ~/.bash_profile (or other login shell script if you’re not using bash) to alleviate this problem (solution from this gist):
# Is this an interactive session?
if [[ $- == *i* ]]; then
    # Make sure that the ssh agent is running, so that tmux sessions have
    # access to it through a symlink.
    if [ -z "$SSH_AUTH_SOCK" ]; then
        eval `/usr/bin/ssh-agent -s`
        /usr/bin/ssh-add
    fi
    # Link launched agent where any extant processes can see it
    if [[ -n "$SSH_TTY" && -S "$SSH_AUTH_SOCK" && ! -h "$SSH_AUTH_SOCK" ]]; then
        ln -sf "$SSH_AUTH_SOCK" ~/.ssh/ssh_auth_sock
    fi
fi
# Always use the symlinked version as the auth socket
export SSH_AUTH_SOCK=~/.ssh/ssh_auth_sock
Installation
This configuration file uses some plugins; most plugins are managed by tmux’s plugin manager, but you have to clone it manually first:
$ git clone https://github.com/tmux-plugins/tpm ~/.tmux/plugins/tpm
After that, simply drop the below .tmux.conf in your user directory (~/.tmux.conf), launch tmux as described above, and press C-b I (control+b, release control, shift+i). tmux will display the progress of installing plugins, and after that everything will be properly installed and configured. Enjoy!
# Note: You MUST run tmux as 'tmux -2'; use an alias in .bashrc.

# Do NOT enable the mouse.  Unfortunately, tmux's mouse mode makes copying
# and pasting very awkward.  Moving around will feel slower without a mouse at
# first, but given a small amount of time it's faster not to use the mouse
# for terminal applications anyway.

# Set up window title support to be the machine and whatever window we're
# using; if using session 1 on machine hostname, and looking at window 3 whose
# name is blog, this looks like "1@hostname 3:blog"
set -g set-titles 'on'
set -g set-titles-string '#S@#T #I:#W'

# The following makes keys work as they should in vim/nvim, and enables the
# proper color mode.
set -g default-terminal "xterm-256color"
set-window-option -g xterm-keys on
set-window-option -g mode-keys vi

# Highlight windows with activity in the status line.
setw -g monitor-activity 'on'

# Alias 'clear' to remove scrollback as well within the shells of tmux
set-option -g default-command '$SHELL --rcfile <(echo " \
        . ~/.bashrc; \
        alias clear=\"command clear && tmux clear\"; \
        ")'

# Start window indices at 1 rather than 0; easier switching (C-b 1, C-b 2, ...)
set -g base-index 1

# Copying in tmux automatically overrides system clipboard.
# Note that C-b [ enters copy mode; to make a selection, use space.  Press
# enter to copy the selected text and exit.  This also works with tmux-copycat,
# invoked with C-b /.
bind -t vi-copy enter copy-pipe "xclip -sel clip -i"

# Escape-time makes pressing escape not be an escape key within tmux
set -sg escape-time 0

# Aggressively resize windows when multiple clients are connected to the
# session.  In effect, if there are multiple sessions in the same window group,
# this will cause a screen flicker when one session passes by another.  Better
# to always resize all windows.  However, uncomment this for the more
# aggressive resizing.
# setw -g aggressive-resize 'on'

# Repeat-time makes the arrow keys immediately responsive after ctrl+b+<arrow>.
# The downside of this particular flag is that if you have more than one
# horizontal (c-b %) or vertical (c-b ") splits, then you will have to press
# ctrl-b (c-b) multiple times to navigate more than one split away.
set-option -g repeat-time 0

# Allow for longer history in scrollback buffers; note that tmux-resurrect
# (used later) has to save this much information.  Hence the limit of 10000
# rather than more; any more, and you should be dumping to a file anyhow.
set-option -g history-limit 10000

# Allow resizing panes quickly with <prefix> shift+arrows
bind C-S-Left resize-pane -L 10
bind C-S-Right resize-pane -R 10
bind C-S-Up resize-pane -U 10
bind C-S-Down resize-pane -D 10

# Pane splitting should retain current path (leave windows alone)
bind '"' split-window -c "#{pane_current_path}"
bind % split-window -h -c "#{pane_current_path}"

# Enable continuum by default; requires sometimes purging ~/.tmux/resurrect
set -g @continuum-restore 'on'

# Make resurrect automatically save pane contents to give clue as to what the
# user was doing.  Note that we do NOT want to restore processes, as
# automatically re-running anything can be disorienting (even the vim stuff,
# in my opinion).
set -g @resurrect-capture-pane-contents 'on'
set -g @resurrect-processes 'false'

##### Configure plugins #####
# NOTE: This REQUIRES the following command to be run:
#
# $ git clone https://github.com/tmux-plugins/tpm ~/.tmux/plugins/tpm
#
# After that, do C-b I in tmux to install the other plugins.

# Plugins to use
set -g @plugin 'tmux-plugins/tpm'
set -g @plugin 'tmux-plugins/tmux-copycat'
set -g @plugin 'tmux-plugins/tmux-resurrect'
set -g @plugin 'tmux-plugins/tmux-continuum'

# Initialize the plugin manager
run '~/.tmux/plugins/tpm/tpm'
Update 2017-1-25 - changed default-terminal screen-256color to xterm-256color; screen-256color was not working properly with ctrl+left and ctrl+right in vim.
Update 2016-8-8 - modified SSH handling to play better with a few other programs by modifying interactive terminals only. Pane splits preserve working directory.